How to Report WebdriverIO Test Results to a Dashboard
Send WebdriverIO results somewhere durable and team-visible using the Tesults service, with the wdio.conf.js setup, enhanced reporting, and parallel run consolidation
Aug 5, 2026 · Updated: Aug 9, 2026

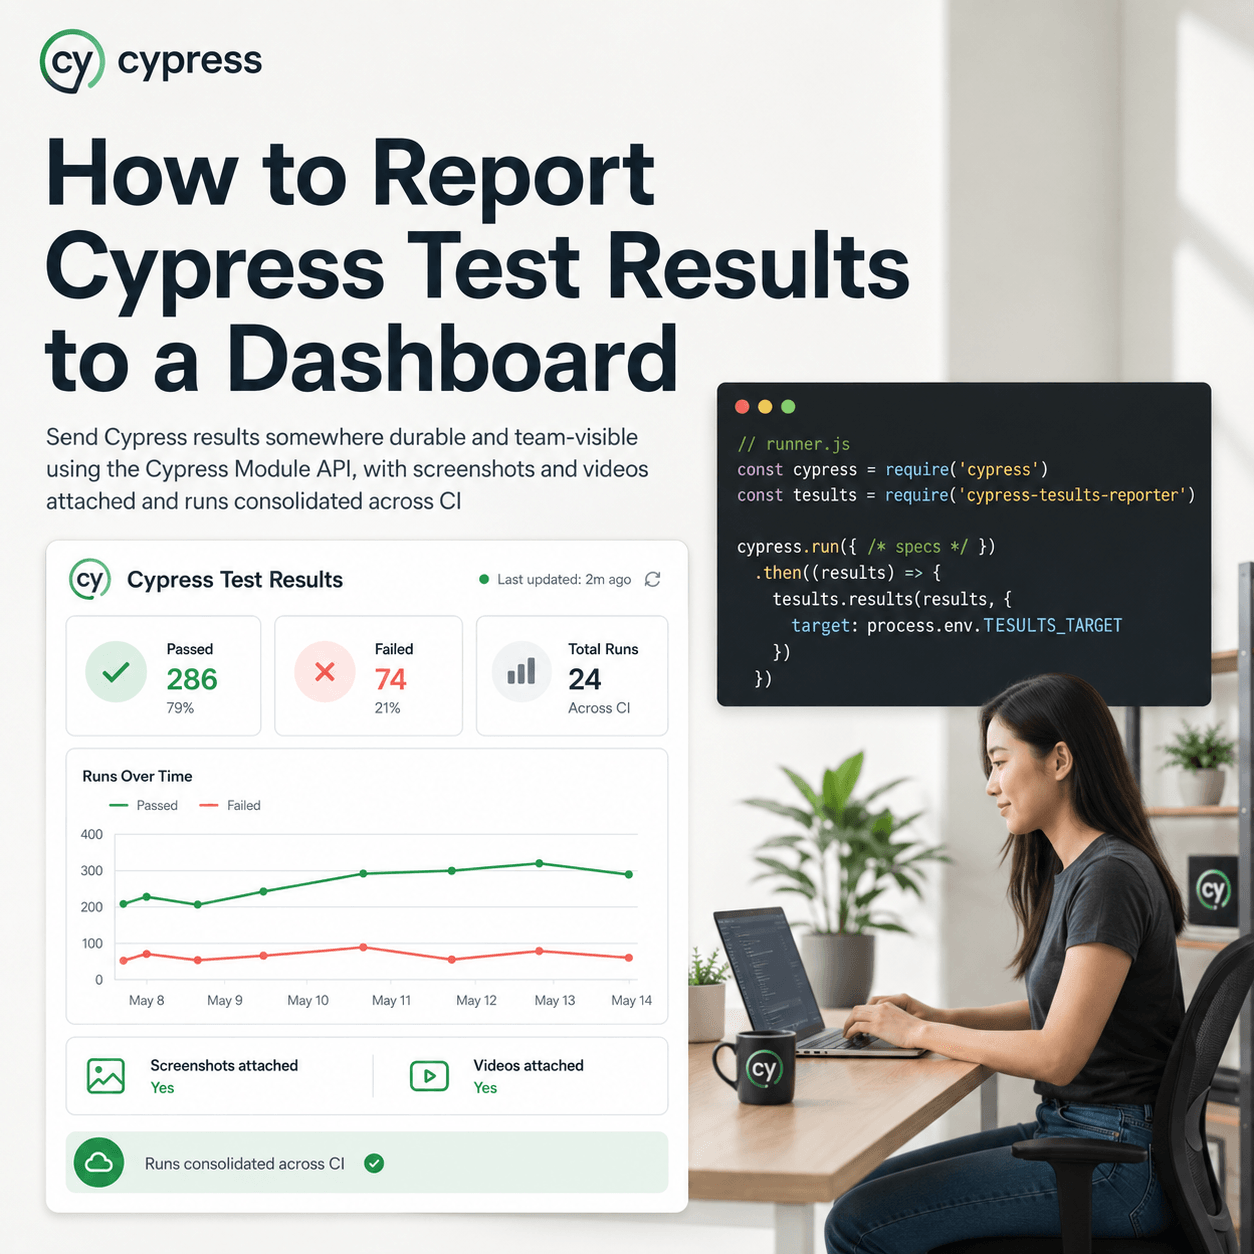
WebdriverIO gives you a capable test runner, but its output lives with the run, so once a team has more than one wdio suite or more than one person who needs to see results, the console stops being enough. To report WebdriverIO results to a dashboard, add the Tesults service to your wdio.conf.js and pass a target token. Each run then pushes to Tesults, where suites and cases are retained across runs and consolidated across parallel workers. WebdriverIO integrates through a service rather than a plain reporter, so the setup sits in the services array of your config. This post coversthat setup, the enhanced reporting functions, and consolidating parallel runs.
How do you add the Tesults service?
Install it. Note the package is wdio-tesults-service, which is the current, supported integration. The older wdio-tesults-reporter has been deprecated and should not be used:
npm install wdio-tesults-service --save
It requires Node.js 14 or newer and works with WebdriverIO using the Mocha, Jasmine, and Cucumber frameworks. Add the service to the services array in your wdio.conf.js, with the options object carrying your target token:
exports.config = {
  // ...
  services: [
    ['tesults',
      {
        target: 'token'
      }
    ]
  ],
  // ...
}
Replace token with your Tesults target token, which you get when creating a project or target and can regenerate from the configuration menu. The target is required: if it is not provided, the service doesnot attempt to upload, effectively disabling itself. That behavior is useful, because it lets the same config stay inert locally and active in CI. Run your tests as usual:
npx wdio run ./wdio.conf.js
At this point results upload to Tesults. To report to different targets without maintaining multiple config files, pass the token from a variable set by a command line argument or your CI system rather than hardcoding it:
const target = () => { // target token from commandline arg }
exports.config = {
  // ...
  services: [
    ['tesults',
      {
        target: target()
      }
    ]
  ],
  // ...
}
How do you add descriptions, steps, and files to a case?
Beyond pass and fail, you can attach a description, custom fields, test steps, and files to each case. Require the service in your spec file:
const tesultsService = require('wdio-tesults-service').defaultThen call its functions from inside a test:
const tesultsService = require('wdio-tesults-service').default

describe('Test suite', () => {
  it('Test case', async () => {
    tesultsService.description("some description here")
    tesultsService.custom("Some custom field", "Some custom value")
    tesultsService.step({
      name: "First step",
      result: "pass"
    })
    tesultsService.step({
      name: "Second step",
      description: "Second step description",
      result: "fail",
      reason: "Error line 203 of test.js"
    })
    tesultsService.file("/absolute/path/to/file/screenshot.png")
  });
});
Steps are the field that most changes what a failure looks like. Each step is an object with a name and a result of pass, fail, or unknown, plusoptional description and reason. Instead of a case that simply failed, you get the sequence that led there with the failing step and a reason, which is the difference between knowing a test failed and knowing where. On files, one caution from the docs: upload time depends entirely on your network speed and the upload blocks at the end of the run, so attach a reasonable number of files per case, and when first integrating, get results flowing without files to confirm the setup before adding them.
How do you report build information?
You can attach build details to a run by passing a build object in theservice options in wdio.conf.js, which is useful when the run is part of a CI pipeline:
exports.config = {
  // ...
  services: [
    ['tesults',
      {
        target: 'token',
        build: {
          name: '1.0.0',
          result: 'pass',
          description: 'build description',
          reason: 'build failure reason'
        }
      }
    ]
  ],
  // ...
}
All build fields are optional. The result must be one of pass, fail, or unknown, and the reason records why a build failed. This is context worth having when looking back at a run later.
How do you consolidate parallel runs into one result?
WebdriverIO commonly runs specs in parallel across multiple workers, and teams often shard suites across CI machines too. Each submission is treated as its own run by default, so parallel execution produces several runs for what you think of as one. To merge them, give every submission for the same logical run a shared build name, then enable Build Consolidation from the configuration menu. Submissions sharing a build name are consolidated into a single run automatically. If there is no natural version to useas the build name, a timestamp captured when the run starts works as the shared identifier.
There is also an optional Build Replacement setting that, when enabledalongside consolidation, replaces an existing case with the same suite and name rather than appending it. That is worth enabling only if you frequently re-run cases within the same build and want only the latest result; otherwise leave it off.
How do you keep results comparable across runs?
Retained results are only useful if each test is recognisable as the same test from one run to the next. Tesults matches cases across runs by suite and test name, so with data driven wdio tests, keep the suite and testnames static and put variable values in the description or a custom field. If the name changes every run, each run looks like a fresh set of tests and you lose historical analysis and failure assignment. Your tests stay as dynamic as you like; only the identifier stays fixed.
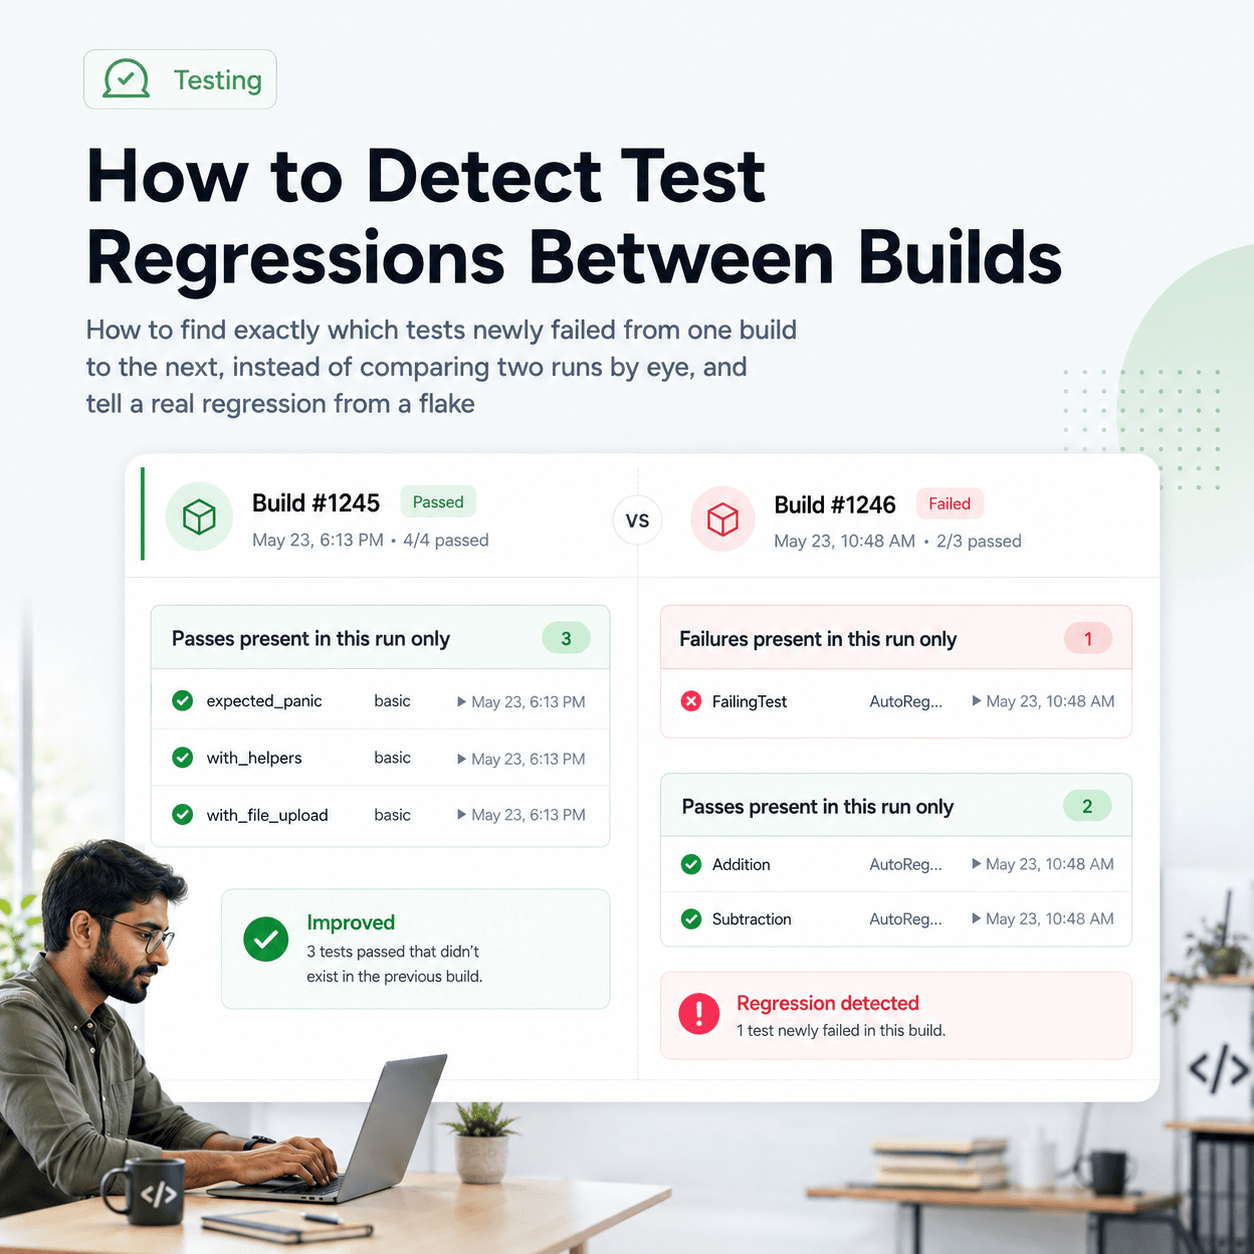
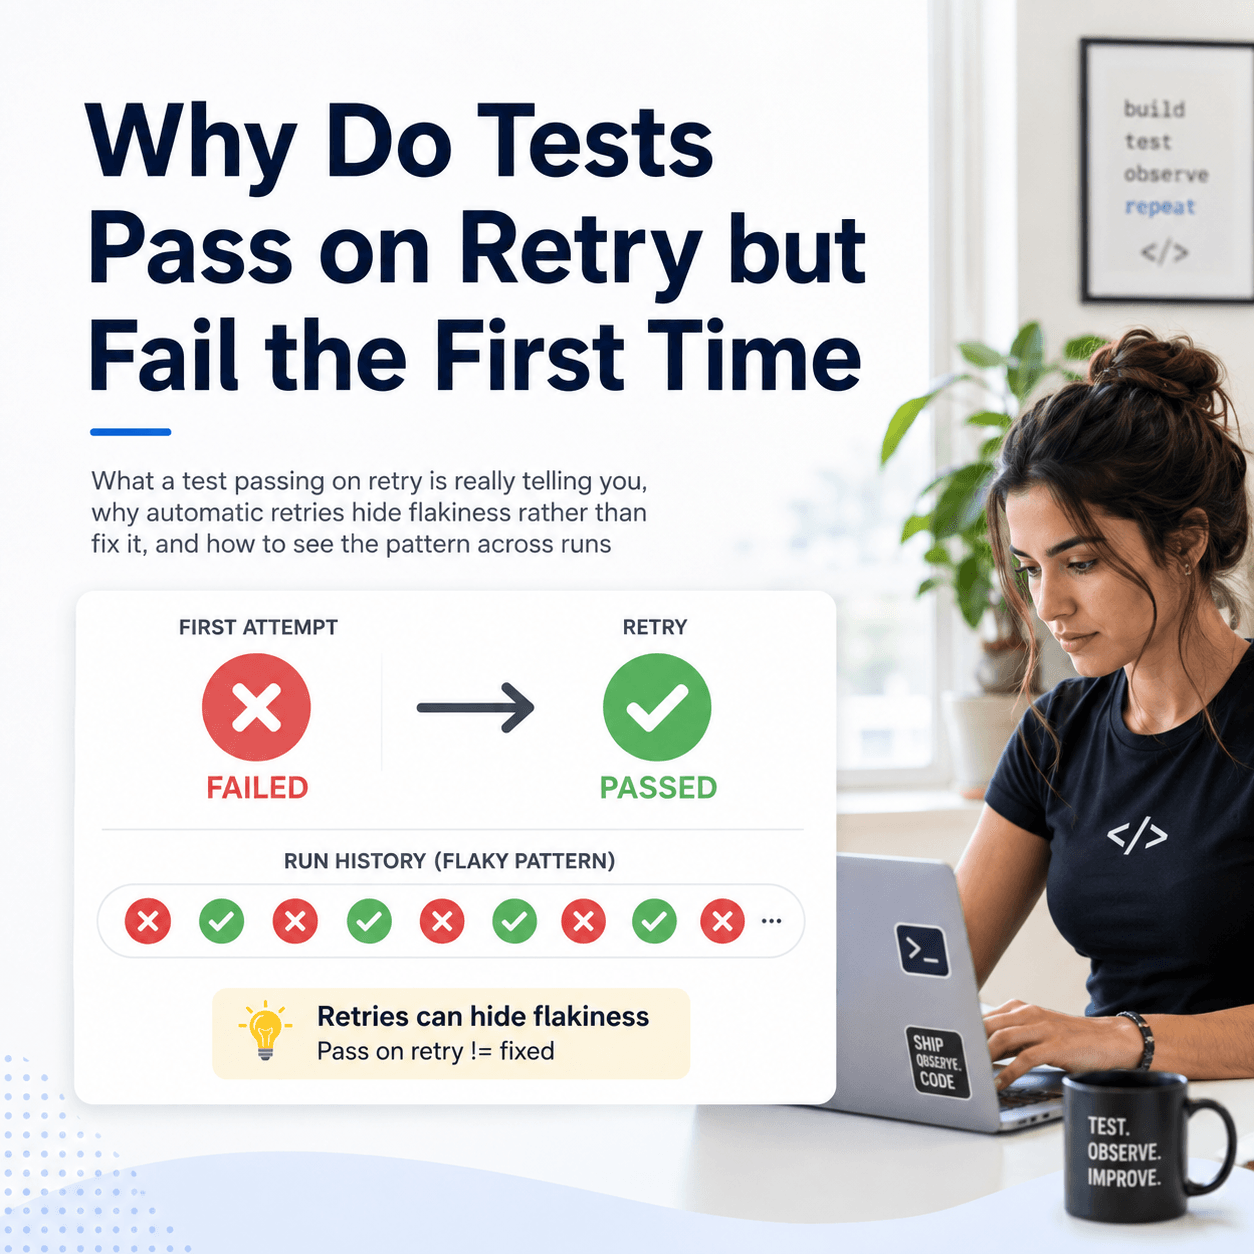
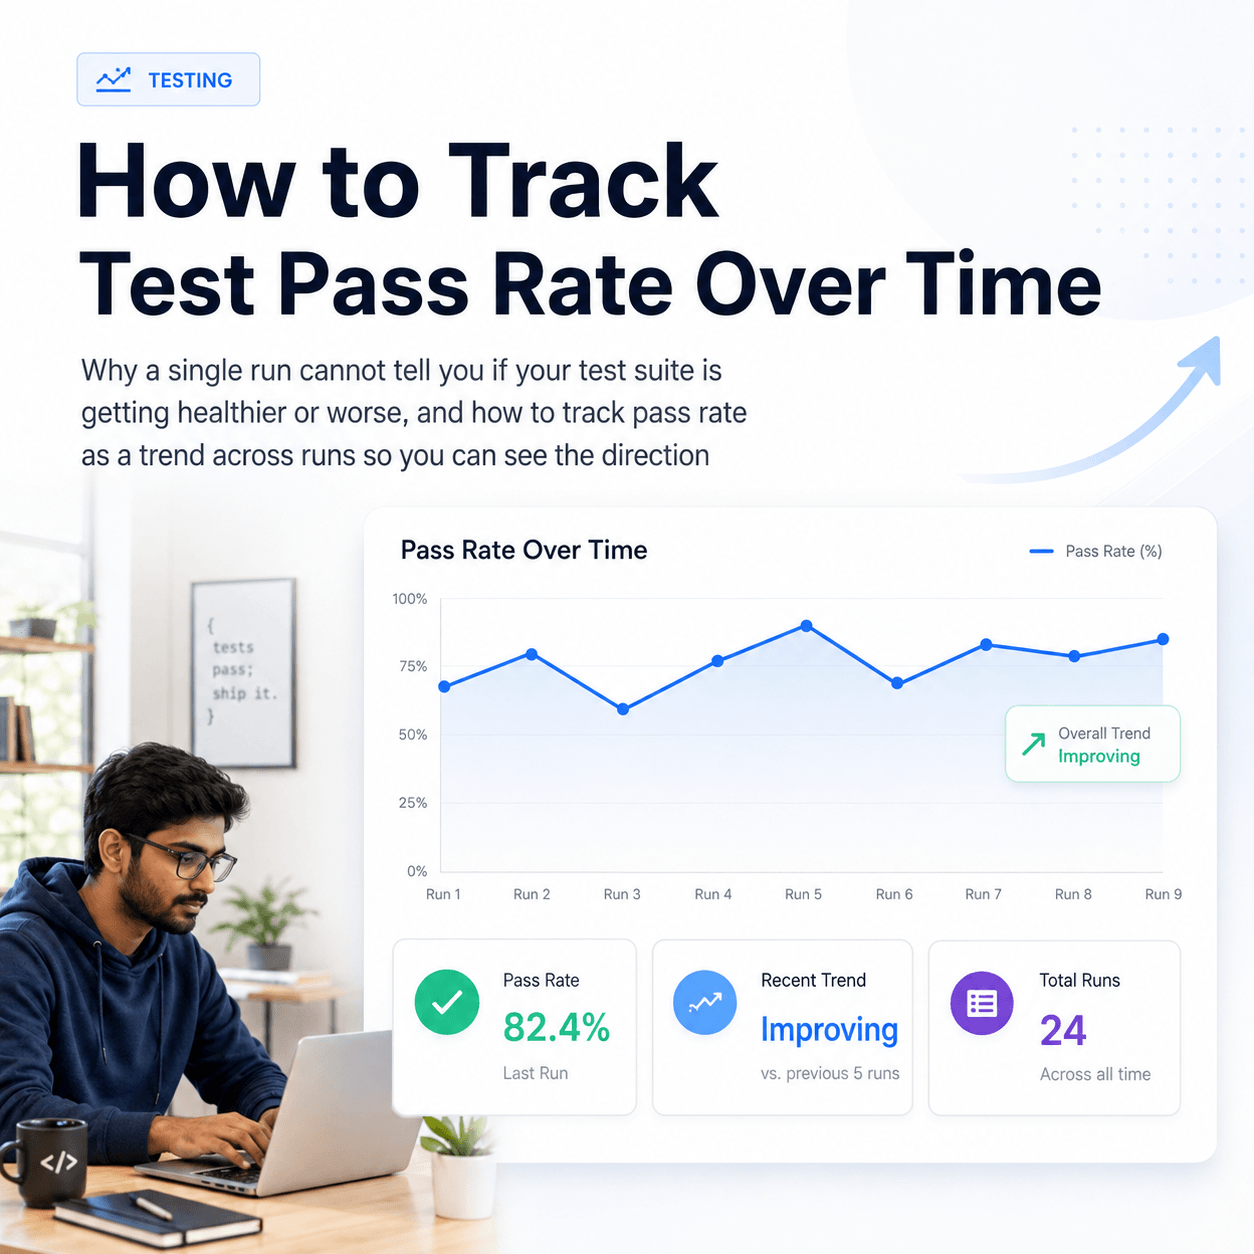
Once runs are retained and aligned, each WebdriverIO test carries a history rather than a single outcome, so you can see which cases just started failing, which have been flaky, and how pass rate is trending, none of which the console output can tell you. That history is also what lets Tesults surface flaky wdio tests automatically, which matters because browser and end to end tests are especially prone to flakiness. The broader approach is covered in how to detect and handle flaky tests.
The whole change is one install and a small addition to your wdio.conf.js, and it leaves how you write and run WebdriverIO tests untouched. What you get back is results that outlive the console, are visible to the whole team, and consolidate across parallel workers into one history you can act on, the sort of consolidation and history worth prioritising when comparing automated test reporting tools. Full configuration, enhanced reporting, and build options are documented in the Tesults WebdriverIO documentation.